
How to Clean Laboratory Glassware in an Ultrasonic Bath
A practical guide to ultrasonic cleaning laboratory glassware, including workflow, chemistry, loading, safety, equipment selection and buyer questions.

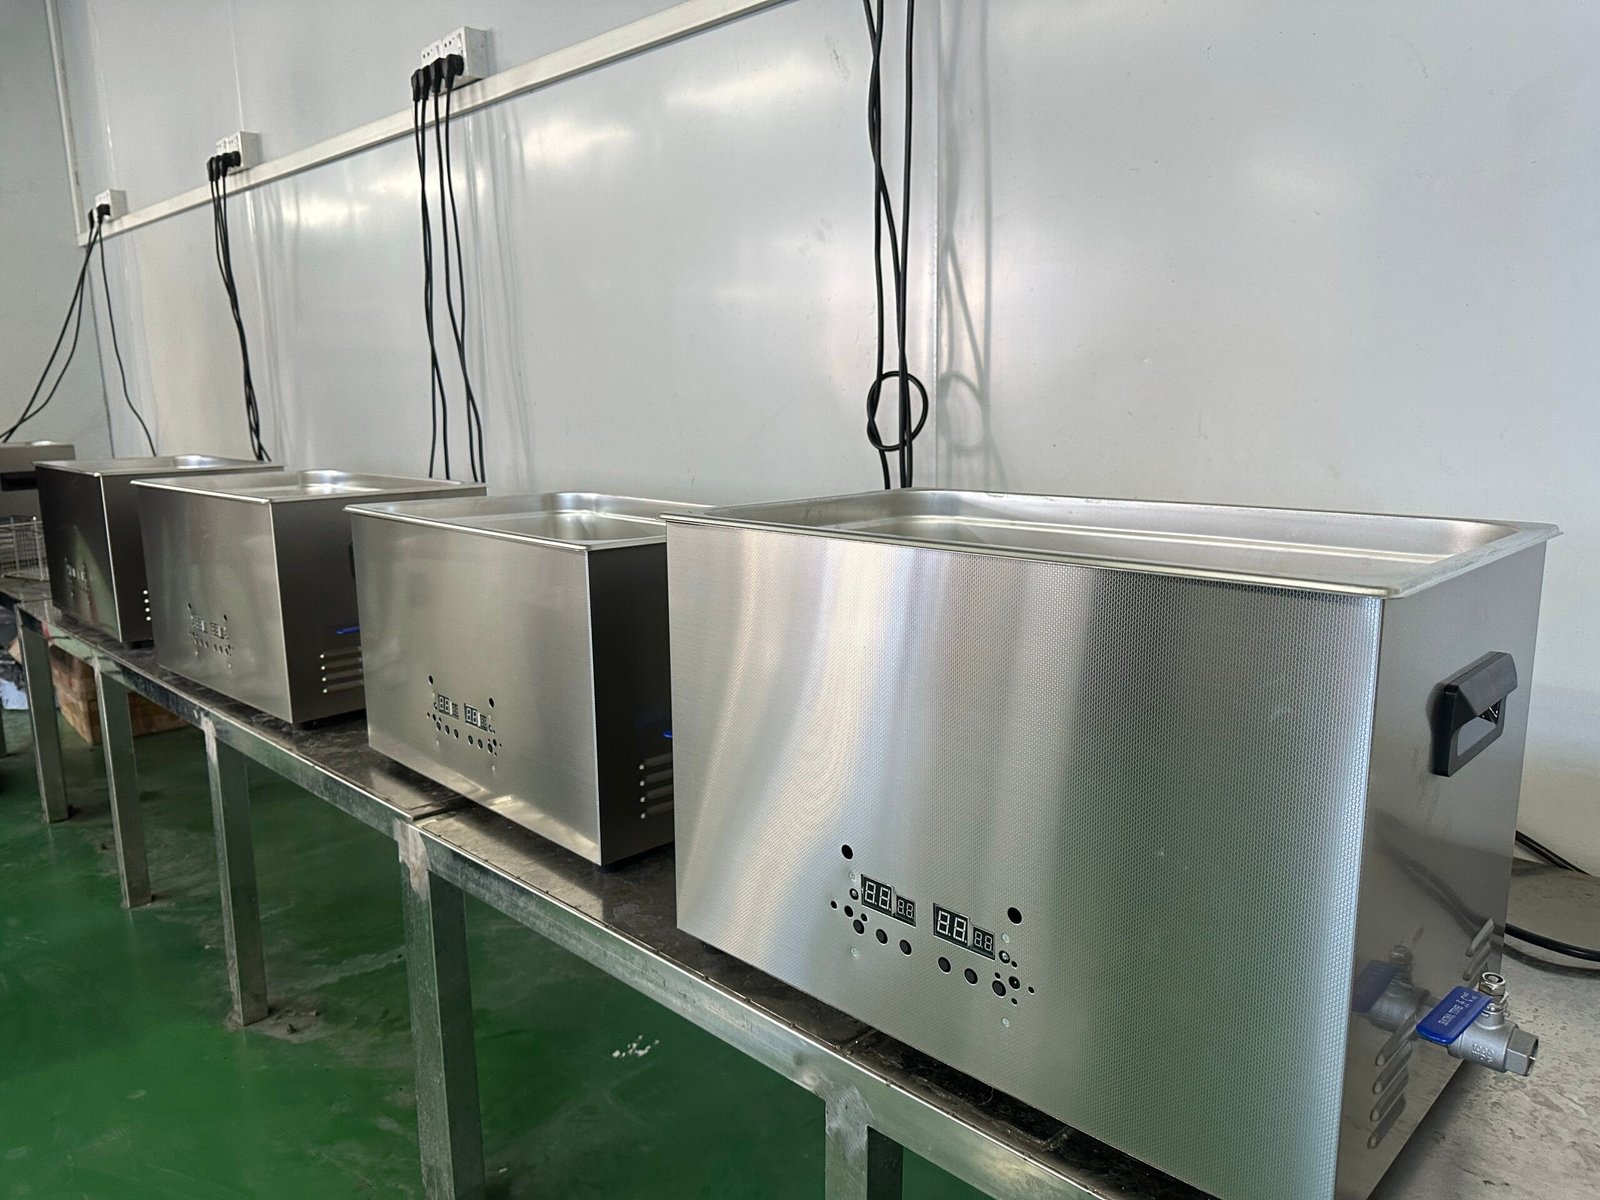
Quick answer: Ultrasonic cleaning can remove residue from compatible laboratory glassware when the bath, detergent, temperature, loading method and rinse standard are matched to the contamination. Use a basket or supported rack, keep glassware from touching the tank floor or other pieces, start with a short validated cycle, rinse with the required water grade, and inspect before reuse. It is a cleaning step—not automatically a sterilization or decontamination process.
Why Laboratories Use Ultrasonic Cleaning for Glassware
Brushes and manual soaking can struggle with narrow necks, joints, grooves and internal surfaces. An ultrasonic bath creates cavitation in a liquid, helping the cleaning solution reach complex areas without relying only on direct scrubbing. Elma lists laboratory glassware, instruments, articulated joints and hollow bodies among its laboratory ultrasonic applications, while Bransonic describes ultrasonic baths as tools for cleaning and sample-processing work.
Ultrasonic cleaning is most useful when a laboratory needs repeatable small-batch cleaning, wants to reduce manual handling, or has compatible glassware with difficult-to-reach residue. It does not eliminate the need to define a cleaning method for the specific soil, material and downstream test.
The current ASTM D5245-19(2024) practice, last updated on April 29, 2024, emphasizes that clean glassware is important to valid microbiological results and that especially sensitive tests may require more stringent procedures. That is a useful reminder for buyers: the machine is only one part of a controlled cleaning process.
Which Laboratory Glassware Can Be Considered?
Common candidates include compatible borosilicate beakers, flasks, test tubes, pipette components, glass joints and small reusable accessories. Suitability should be confirmed before loading, especially when the item is:
- cracked, chipped, scratched or previously heat-stressed;
- calibrated volumetric glassware where dimensional accuracy is critical;
- coated, printed, bonded or fitted with a sensitive seal;
- contaminated with a material that requires a dedicated decontamination procedure;
- made from an unknown glass or plastic formulation;
- too large to remain fully supported without touching the tank.
When the consequence of damage or cross-contamination is high, confirm the method with the glassware manufacturer, your laboratory manager and the applicable SOP before use.
Step-by-Step Workflow for Ultrasonic Cleaning Laboratory Glassware
1. Identify the residue and the required endpoint
“Looks clean” may be enough for general workshop glassware but not for analytical, microbiological or trace-level work. Define what must be removed—water-soluble residue, oil, particulate matter, polishing compound or another contaminant—and how cleanliness will be checked.
2. Pre-rinse and separate incompatible loads
Remove loose material before sonication where the laboratory procedure permits. Keep different contamination classes separate. Do not mix glassware with heavy metal parts that can strike or scratch it during the cycle.
3. Choose compatible, low-foaming chemistry
Use a water-based solution approved for the glass, contamination and test method. Excess foam can reduce effective ultrasonic transmission. Acidic, alkaline or neutral cleaners have different material limits, so use the chemical supplier’s concentration, temperature, contact-time and rinsing instructions rather than guessing.
The Elma Lab Clean range, for example, distinguishes laboratory detergents by material and contamination type. This illustrates why “one detergent for every beaker” is not a reliable procurement specification.
4. Degas a fresh bath
Freshly prepared liquid contains dissolved gas that can weaken or delay cavitation. Run the machine’s degas function, or an unloaded ultrasonic cycle if the operating manual permits it, before starting a controlled cleaning cycle. For a deeper explanation, see our ultrasonic cleaner degas function guide.
5. Support the glassware correctly
Never place glassware directly on the tank bottom. Use the supplied basket, a laboratory rack or a correctly supported indirect-cleaning container. Prevent pieces from touching one another. Elma’s laboratory guidance notes that glassware can be fixed with a laboratory stand so it does not rattle unnecessarily on the basket base.
6. Set a conservative first cycle
Start with the lowest effective time and a temperature compatible with the glassware, residue and detergent. Longer and hotter are not automatically better. Sonication itself adds heat, even when the heater is not selected, so laboratories should monitor the actual bath temperature during process development.
7. Rinse to the required standard
Rinse with the water grade and number of stages required by the SOP. Deionized, distilled or purified water may be needed depending on the analysis. Poor rinsing can replace visible soil with detergent residue, which is still contamination.
8. Dry, inspect and document
Inspect for remaining film, particles, chips or cracks. Dry in a way that avoids recontamination. Where results depend on repeatability, record bath chemistry, concentration, temperature, time, load pattern, rinse method and solution-change interval.
Important Safety Limits
Do not put alcohol, gasoline or other flammable liquids directly into a standard ultrasonic tank. A Branson ultrasonic cleaner operator’s manual hosted by NIST warns against flammable solutions, mineral acids, operating dry and placing parts or containers on the tank bottom. Follow the manual supplied with the actual machine and your laboratory’s chemical-hygiene rules.
Acid and base baths also require formal chemical controls. The University of Pennsylvania’s glassware-cleaning safety fact sheet, revised March 24, 2025, describes corrosive hazards and lists sonication among less hazardous alternatives. This does not mean every residue can be safely sonicated; it means buyers should evaluate whether an aqueous ultrasonic method can replace a more hazardous process.
Direct vs Indirect Ultrasonic Cleaning
Direct cleaning places compatible items in the basket inside the main tank solution. It is simple and efficient for one validated chemistry.
Indirect cleaning places items and process liquid in a separate beaker or container suspended in a water-filled tank. It can help separate small batches or different solutions, but the container, support, liquid level and acoustic coupling all affect performance. Never assume that an improvised container is safe or effective; follow the cleaner and accessory instructions.
How to Choose an Ultrasonic Bath for Laboratory Glassware
Choose by usable dimensions, not litres alone
Measure the longest, widest and tallest loaded item, including the rack or basket. Compare those measurements with the usable basket dimensions and the operating liquid level. A nominal tank volume does not tell you whether an Erlenmeyer flask, rack or group of beakers will fit correctly. Our basket-size buyer’s guide explains this calculation in detail.
Match capacity to the real batch
A small bath may suit test tubes and small beakers; a 10–20L benchtop unit is more practical for larger glassware or repeated batches. Avoid packing the basket to the point where pieces touch or shield one another. Buy for the validated load pattern, not the maximum number that can physically fit.
Look for controls that support repeatability
- adjustable timer with clear cycle feedback;
- temperature control and an easy-to-read display;
- degas mode for fresh solutions;
- a basket or rack that supports glassware without tank-floor contact;
- a drain valve on larger tanks for safer solution changes;
- a lid to reduce noise, evaporation and airborne contamination;
- documented voltage, frequency and plug configuration for the destination market.
Verify specifications with a sample test
Ask the supplier to test your representative glassware and residue, or run a controlled trial with your own SOP. Evaluate cleaning results across several basket positions and repeated cycles. A single clean sample does not prove uniform performance for a full production load.
As a current equipment example, the SONICLEANTECH 15L 40kHz commercial ultrasonic cleaner uses a 330 × 300 × 150mm SUS304 tank, 360W ultrasonic power, six transducers, 600W heating, a 1–99 minute timer and a drain valve. These specifications may suit medium laboratory loads, but buyers should still confirm basket clearance, glassware compatibility and the required cleaning process before ordering.
Buyer’s RFQ Checklist
- What glassware types and maximum dimensions will be cleaned?
- What contamination must be removed?
- What basket or rack keeps glass off the tank floor?
- What are the usable basket dimensions and working liquid level?
- Are time, temperature and degassing independently controllable?
- What solution chemistry is compatible with the tank and glassware?
- Can the supplier provide a sample-test method and result photos?
- What voltage, mains frequency and plug are supplied?
- What documentation, spare parts and OEM/ODM options are available?
Frequently Asked Questions
Can ultrasonic cleaning sterilize laboratory glassware?
No. Ultrasonic cleaning removes compatible contamination; it should not be presented as sterilization. If the application requires disinfection, sterilization or biological decontamination, follow the validated procedure and applicable regulations after or before cleaning as required.
Can glassware touch the bottom of the tank?
No. Direct contact can interfere with sound transmission and may damage the glassware, tank or transducers. Use an appropriate basket or support.
What frequency is commonly used for general laboratory cleaning?
Many general-purpose benchtop laboratory baths operate around 40kHz. Frequency alone does not determine suitability: power distribution, tank geometry, load, chemistry, time and temperature also affect the result.
Should the heater always be used?
No. Heat may improve removal of some oils and residues, but it can damage heat-sensitive materials, increase evaporation or change the chemistry. Use only a validated temperature range.
How often should the bath solution be replaced?
Replace it according to contamination load, cleaning performance, supplier instructions and the laboratory SOP. A visibly dirty bath, unstable results or carryover risk are reasons to change it sooner.
Summary
Reliable ultrasonic cleaning of laboratory glassware depends on process control, not simply switching on a bath. Define the residue and cleanliness requirement, select compatible chemistry, degas the bath, support glassware correctly, validate time and temperature, rinse thoroughly and document the method. Buyers should compare usable dimensions, controls, drainage, accessories and sample-test results before choosing a 1–20L unit.
Need help matching a benchtop ultrasonic cleaner to your glassware and batch size? Send SONICLEANTECH the item dimensions, photos, residue type, daily batch quantity and destination voltage through our contact page. We can review standard equipment and OEM/ODM options without making unsupported cleaning claims.